
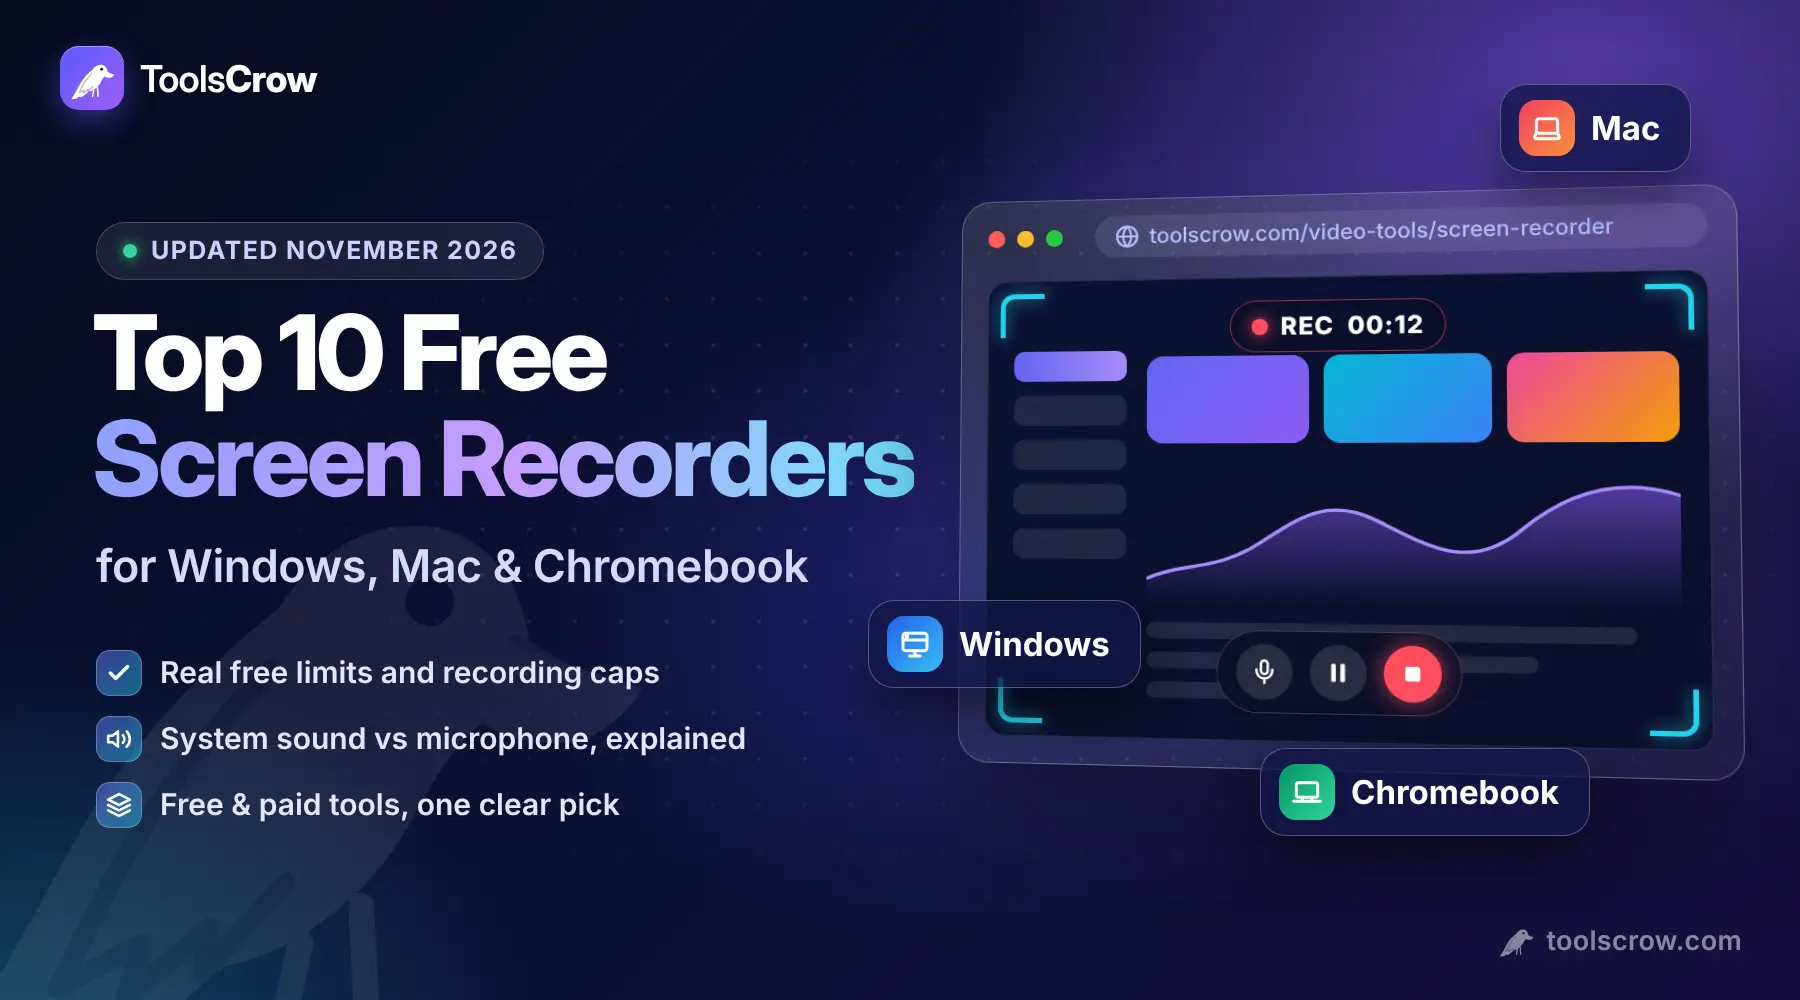
Most people searching for a screen recorder want the same thing: record what is on the screen, with sound, without paying, without a watermark, and without installing something strange. That is possible in 2026, but the right tool depends on three things that most "best of" lists skip: how long your recording is, whether you need the computer's own sound (not just your voice), and what device you are on.
Here is the short answer. For a quick clip, use what is already on your computer or a browser recorder. For a long tutorial with several scenes, use OBS Studio. If you mainly share short clips with a link, Loom is built for that, but its free plan is small. The rest of this guide explains why, with the limits that actually matter.
Disclosure: we build the ToolsCrow Online Screen Recorder, and it is number one on this list because it needs no install and runs on all three platforms. We say plainly where it falls short, and the other nine are judged on the same points. Plan details for paid tools change often, so check each vendor's site before you subscribe.
Quick Picks: Which Recorder for Which Job
| If you need | Use this |
|---|---|
| A clip in under a minute, nothing to install | ToolsCrow Online Screen Recorder |
| One Windows app or a game clip | Xbox Game Bar |
| A quick region recording on Windows 11 | Snipping Tool |
| Screen plus your voice on a Mac | Shift + Command + 5 |
| Anything on a Chromebook | Built-in Screen Capture |
| Long tutorials, scenes, overlays | OBS Studio |
| A shareable link for a team | Loom |
| Longer free clips with simple editing | ScreenPal |
| Polished training videos with annotations | Camtasia (paid) |
What to Check Before You Choose
Four questions decide almost every case.
- How long is the recording? Free plans on cloud tools often cap each video at 5 or 15 minutes. Built-in tools and OBS have no such timer.
- Do you need system sound? Your voice is easy. The sound coming from your computer, like a video you are demonstrating, is the tricky part, and it works differently on each device. There is a full breakdown further down.
- Where does the file go? Some tools save to your device. Others upload to their servers and give you a link. That affects privacy and what you can do offline.
- Is there a watermark? Some free versions stamp their logo on the video. That is fine for a bug report and awkward for a client or a course.
1. ToolsCrow Online Screen Recorder (Best No-Install Option)
Works on: desktop browsers on Windows, Mac and Chromebook. Cost: free, no sign-up, no watermark.
The ToolsCrow Online Screen Recorder uses the recording ability already built into your browser. You press Start, choose the whole screen, one window or one browser tab, wait through a three-second countdown, and record. You can pause and resume, and when you press Stop you save the file to your device.
The good parts are practical. There is nothing to install and no account to make. There is no watermark and no daily limit, so the only ceilings are your device's memory and processing power. The video is built in your browser and saved locally, so nothing is uploaded or streamed to a server. In Chrome and Edge you can tick "Share audio" to capture sound from a tab or the computer, and the tool mixes that with your microphone.
The limits are worth knowing too. It is a desktop feature: phones and tablets do not allow screen capture in the browser, so on a phone use the built-in recorder. Most browsers save the recording as WebM, and Safari saves MP4, so if you need MP4 you convert it with one click on the result screen. Very long recordings are held in memory until you save, so for hours-long sessions record in parts. It also saves a file rather than giving you a share link the way Loom does. If you want your face in the video as well, ToolsCrow has a separate Webcam Recorder.
Best for: quick tutorials, bug reports, short demos and anyone on a locked-down school or work computer where installing software is not allowed.

2. Xbox Game Bar (Best Built-In Option on Windows)
Works on: Windows 10 and 11. Cost: free, already installed.
Despite the name, Game Bar records more than games. Press Win + G to open it, or press Win + Alt + R to start and stop recording straight away. Press Win + Alt + M to turn your microphone on or off during a recording. Files are saved as MP4 in Videos\Captures.
Its main strength is that it can record system sound together with your microphone, which many built-in tools cannot. Its main limit is that it records one app window at a time. It cannot record the whole desktop or File Explorer, so if you need to show switching between several programs, use a different tool from this list. If Win + Alt + R does nothing, check that Game Bar is switched on under Settings, Gaming, Xbox Game Bar.
Best for: recording a single app, a game, or a browser window with sound.
3. Snipping Tool (Best for Quick Region Clips on Windows 11)
Works on: Windows 11 only. Cost: free, already installed.
Windows 11's Snipping Tool can record video as well as take screenshots. Press Win + Shift + R, drag a box around the part of the screen you want, and record. The video is saved in Videos\Screen Recordings and opens for review. It is the quickest way to grab a small area, like one dialog box.
Check the sound before you rely on it. Several 2026 guides report that Snipping Tool recordings contain video only, with no microphone and no system audio, although Microsoft updates the app regularly, so test a ten-second clip on your own version. If you need a narrated walkthrough, pick Game Bar or a browser recorder instead.
Best for: silent how-to clips and quick bug reports.
4. Mac Screenshot Toolbar and QuickTime (Best Built-In Option on Mac)
Works on: macOS. Cost: free, already installed.
Press Shift + Command + 5 and a small toolbar appears. Choose to record the whole screen or a selected area, open Options to pick your microphone and where to save, and press Record. QuickTime Player's File menu, then New Screen Recording, opens the same toolbar on recent versions of macOS.
The catch is sound. The built-in tools capture your microphone but not system audio, which is the sound your Mac itself plays. The usual free workaround is a virtual audio driver such as BlackHole, which takes some setup. If you only need your voice over the screen, the toolbar is perfect. If you need app sound, a browser recorder (tab audio) or OBS is easier. On recent versions of macOS you also have to allow screen recording and microphone access under System Settings, Privacy and Security, the first time you use a recorder.
Best for: screen plus voice narration with zero setup.
5. Chromebook Screen Capture (Best Built-In Option on ChromeOS)
Works on: Chromebooks. Cost: free, already installed.
Press Shift + Ctrl + Show windows to open the Screen Capture toolbar. If your external keyboard has no Show windows key, press Ctrl + Shift + F5. Pick the video camera icon, then choose full screen, a partial area or a single window. In the toolbar's settings you can turn on the microphone, and Google's help page lists options for device audio, microphone, or both. There is also a "Show keys and clicks" switch that is handy for tutorials.
Recordings save to your Downloads folder by default, and you can change the folder in the same settings, for example to Google Drive. It is one of the best built-in recorders on any platform because audio options are included. The ToolsCrow recorder also works in Chrome on a Chromebook if you prefer recording from the browser.
Best for: students and anyone on a Chromebook who wants a recording with sound and no extensions.

6. OBS Studio (Best Free Recorder for Long or Complex Recordings)
Works on: Windows, Mac and Linux. Cost: free and open source.
OBS Studio is the standard free answer for serious recording. There is no watermark and no time limit. You build "scenes" from sources such as your screen, a window, a webcam, images and audio inputs, switch between them, and record or stream. It handles hours of footage and lets you record the screen and microphone on separate audio tracks, which makes editing much easier later.
The trade-off is the learning curve. The first launch can feel like a cockpit. Plan on an hour to understand scenes and audio settings before your first good recording. Mac users who need system sound often end up here, or with a virtual audio driver, so test your audio setup with a short clip first.
Best for: tutorial creators, course makers, streamers and anyone recording more than 20 minutes at a time.
7. ShareX (Best Free Power Tool on Windows)
Works on: Windows. Cost: free and open source.
ShareX is a capture tool for people who take screenshots and short recordings all day. It records screen video and GIFs, and it can run automatic steps after each capture, such as saving to a folder, copying a link or opening an editor. The first time you record video it may ask you to download a helper component, so do not be surprised by that prompt.
It is more of a toolbox than a simple recorder, and the menu is dense. If you just want to record twice a month, Game Bar or a browser recorder is easier. If you capture constantly, ShareX saves real time.
Best for: support teams, documentation writers and developers on Windows.
8. Loom (Best for Sharing a Link Fast)
Works on: desktop apps, a Chrome extension and mobile. Cost: free Starter plan, paid plans from about $15 to $18 per user per month depending on billing.
Loom records your screen and optionally your camera, uploads the video as you finish, and gives you a link to paste into chat or email. For quick async updates to a team, that is hard to beat. Viewers can comment and react, and transcripts are added for you.
The free plan is the issue. Starter allows up to 25 videos per person, with a five-minute limit on each recording and a quality cap of 720p, according to Loom's own plan pages and recent reviews. Active users run out of video slots in weeks. Paid Business plans remove those limits and add more control. If you want files on your own device with no cap, use a built-in tool, a browser recorder or OBS instead.
Best for: teams that send short walkthroughs and want a link, not a file.

9. ScreenPal (Best Free Cloud Option for Longer Clips)
Works on: Windows, Mac and in the browser. Cost: free plan, paid plans from roughly $3 to $4 per month.
ScreenPal, formerly Screencast-O-Matic, gives free users a 15-minute limit per recording, which is three times Loom's free cap. It includes a basic editor and hosting for sharing. Paid plans lift the time limit and add fuller editing.
Be careful with two details. Reviews disagree on whether free exports carry a watermark, and the number of hosted videos on the free plan is described differently by different sources. Check the current plan page before you build a workflow around either. Reviews also say that system sound is not available on the free plan, only the microphone.
Best for: teachers and small teams who want a bit more free recording time than Loom allows.
10. Camtasia (Best Paid Option for Polished Tutorials)
Works on: Windows and Mac. Cost: paid subscription, with a free trial that watermarks exports.
Camtasia is a screen recorder and a full video editor in one app. You can record, then add callouts, zoom and pan, cursor effects, captions and annotations on a timeline. It is aimed at training, software demos and course videos where the finished look matters.
It is not free. In 2026 listings, individual subscription plans ran from roughly $39 to $599 per year depending on the tier, and watermark-free exports need a paid plan, so confirm current pricing on TechSmith's store. If you only need to capture a screen, every other tool on this list is cheaper. Camtasia earns its price when you edit a lot.
Best for: instructional designers, trainers and course creators who edit every video.
Side-by-Side Comparison
| Tool | Works on | Free limits | System sound | Best for |
|---|---|---|---|---|
| ToolsCrow Screen Recorder | Desktop browsers | No sign-up, no watermark, no time cap | Chrome and Edge, depends on device | Quick clips, no install |
| Xbox Game Bar | Windows 10 and 11 | Built in | Yes, plus mic | One app or game |
| Snipping Tool | Windows 11 | Built in | Reported video only, test yours | Silent region clips |
| Mac Screenshot toolbar | macOS | Built in | Mic only | Voice narration |
| Chromebook Screen Capture | ChromeOS | Built in | Device audio, mic or both | Any Chromebook clip |
| OBS Studio | Windows, Mac, Linux | Free, no limits | Yes, Mac may need setup | Long, multi-scene recordings |
| ShareX | Windows | Free, open source | Depends on your setup | Frequent captures |
| Loom | Desktop, extension, mobile | 25 videos, 5 min, 720p | Test before you rely on it | Shareable links |
| ScreenPal | Windows, Mac, browser | 15 min per recording | Mic only on free, per reviews | Longer free clips |
| Camtasia | Windows, Mac | Watermarked trial only | Yes | Polished, edited videos |
Recording Sound: What Each Device Actually Captures
Audio is where most screen recordings go wrong, so it deserves its own section. There are two different sounds. Microphone audio is your voice. System audio is whatever your computer plays, like a video, a game or a notification.

On Windows, Game Bar captures system sound and your microphone. In Chrome and Edge, a browser recorder can capture whole-screen sound when you tick "Share audio" in the sharing dialog.
On a Mac, the built-in toolbar records only the microphone. Chrome and Edge can share the sound of a single browser tab, which is enough when you are demonstrating something in the browser. Capturing the sound of the whole Mac is the part that varies by browser version, so do a ten-second test first, or use OBS or a virtual audio driver for important work.
On a Chromebook, the built-in tool offers device audio, microphone or both, and Chrome can capture whole-screen sound in a browser recorder.
In Firefox and Safari, browser recorders generally capture only your microphone, not computer sound. This is a browser limit, not a ToolsCrow limit, and it applies to any recorder that runs in those browsers.
Free Time Limits: The Detail That Surprises People
The cloud tools on this list trade convenience for caps. Loom's free plan stops you at five minutes per video. ScreenPal stops at fifteen. If you plan to record a thirty-minute lesson, you will hit a wall in the middle of the take, which is a miserable moment. Tools that save to your own device, like the built-in recorders, OBS and the ToolsCrow recorder, do not run a timer. Their real limit is storage and memory, so long recordings are best made in sections.
How to Record Your Screen in the Browser, Step by Step
If you decide the browser route fits you, this takes about a minute.
- Open the ToolsCrow Screen Recorder in Chrome, Edge or Safari on a computer.
- Press Start screen recording and choose what to share: the entire screen, one window or one browser tab.
- If you want computer sound, tick Share audio in the sharing dialog. If you want your voice, allow the microphone when asked.
- Wait for the three-second countdown, then do your demo. Pause and resume whenever you need.
- Press Stop and save the file. Then download it, or move straight on to trimming, converting or compressing.
After You Record: Trim, Convert and Compress
The raw recording is rarely the final file. There is usually dead air at the start, a format your colleague's phone cannot play, or a file too large for email. These ToolsCrow video tools handle the common fixes in the browser:
- Video Trimmer keeps just the part you need, so you can cut the fumbling at the start and end.
- WebM to MP4 converts the WebM file most browsers produce into MP4, which plays almost everywhere.
- Video Compressor shrinks the video, or lets you aim for an exact size in MB for upload limits.
- Video Cropper crops to a ratio like 1:1 or 9:16 if the clip is going to social media.
- Add Subtitles to Video burns captions into the picture so they show on platforms that ignore subtitle files.
A common routine is record, trim the start and end, convert to MP4, then compress for email or chat. Our own testing notes for this workflow are simple: do the trim before the compression, because compressing first and editing later can lower the quality twice.

Which One Should You Use? A Simple Decision Guide
If you want a rule of thumb, use the lightest tool that gets the job done.

- Need it now, on any computer: a browser recorder or your built-in tool.
- Recording a game or one app on Windows: Game Bar.
- Narrating on a Mac: Shift + Command + 5 with your microphone selected.
- On a Chromebook: the built-in Screen Capture toolbar.
- Sending a quick update to coworkers: Loom, if the free limits suit you.
- Making a course or long tutorial: OBS Studio, then edit.
- Making polished training videos every week: Camtasia, if the subscription makes sense for you.
Common Screen Recording Problems and Fixes
My recording has no sound
First decide which sound is missing. If your voice is missing, check microphone permission in the recorder and in your system privacy settings. If the computer's sound is missing, that is the system audio limit described above. On Windows, use Game Bar or tick "Share audio" in Chrome or Edge. On a Mac, share a browser tab with audio, or use OBS.
The video is black or the window did not record
Some protected content, such as streaming services and certain apps, blocks capture on purpose. Game Bar also cannot record the desktop or File Explorer. Try recording the whole screen or a browser tab instead of one window.
My file is a WebM and it will not play
That is normal for browser recorders. Convert it to MP4 with the WebM to MP4 tool and it will play on almost any device.
The file is too big to send
Trim it first, then run it through the Video Compressor. Screen recordings with lots of static content compress well.
Recording keeps stopping or the computer lags
Close heavy programs, lower the recording quality if the tool allows, and record in shorter parts. Very long browser recordings are held in memory until you save, so splitting a long session into sections is safer.
Privacy and Permission: Two Things Worth Doing Right
Before you start, close notification pop-ups, password managers and private tabs. A screen recording captures everything visible, including a message preview from your boss. Many recorders let you share a single window or tab instead of the full screen, which is the safest default.
If you are recording a meeting, a class or a call with other people in it, tell them first and get their agreement. Recording laws differ by country and region, and it is also simply good manners. About where your video goes: the ToolsCrow recorder builds the video in your browser and saves it on your device, and nothing is uploaded. Cloud tools like Loom and ScreenPal host your video on their servers by design, so read their privacy terms if the content is sensitive.
Frequently Asked Questions
What is the best free screen recorder with no watermark?
OBS Studio, the built-in recorders on Windows, Mac and Chromebook, and the ToolsCrow browser recorder are all free without a watermark. Check ScreenPal's current plan page if you plan to use it, because sources disagree on its watermark.
Can I record my screen without downloading anything?
Yes. Windows, Mac and Chromebook all have a built-in recorder, and a browser recorder works on any modern desktop browser with no install and no account.
How do I record my screen with sound on a Mac?
Press Shift + Command + 5, open Options and choose your microphone. That records your voice. To record the sound your Mac plays, share a browser tab with audio in a Chrome-based browser, or use OBS or a virtual audio driver.
Is there a time limit on free screen recorders?
Cloud tools often have one. Loom's free plan is limited to five minutes per video and ScreenPal's to fifteen. Built-in recorders, OBS and the ToolsCrow recorder do not use a timer, and are limited by your device instead.
Can I screen record on my phone with these tools?
Browser recorders cannot, because mobile browsers do not allow screen capture. Use your phone's built-in screen recorder, then trim or compress the file in the browser afterward.
Why does my browser recording save as WebM?
Most browsers record in the WebM format. Safari records MP4. If you need MP4 everywhere, convert the WebM file with a converter tool.
Is an online screen recorder safe?
It depends on how it works. A recorder that builds the video in your browser and saves it to your device, like the ToolsCrow one, never sends your screen anywhere. A recorder that uploads to a server stores your video on their systems. Either way, the browser asks your permission before it shares your screen, and you can stop sharing at any time.
The Bottom Line
You do not need to pay for a screen recorder to get a clean, watermark-free recording. Your computer probably already has one, and a browser can fill the gaps. Choose by the job: a quick clip needs the lightest tool, a long tutorial needs OBS, and a link for your team is what Loom is good at.
If you want to try the no-install route right now, open the free ToolsCrow Online Screen Recorder, record a ten-second test with your sound settings, and then use the trimmer, converter and compressor to finish the file. Tools and plans change, so run that short test on your own device before an important recording. It all records on your own device without any server connection, so your recording stays secure.
More video tools: browse all ToolsCrow video tools.
Comments (1)
This is the most honest screen recorder comparison I've read. Most lists just say "Loom is the best" without mentioning the 5-minute limit. As a teacher who records 20-minute lessons, I would have hit that wall constantly. OBS is intimidating but your explanation of scenes and separate audio tracks convinced me to give it a try. Any tips for a first-time OBS user?
Leave a Comment
All comments are reviewed before publishing. Please keep it respectful and on-topic. Comments with links or promotional content will be rejected automatically.