Convert iPhone Video to MP4 Online for Free (100% Tested)
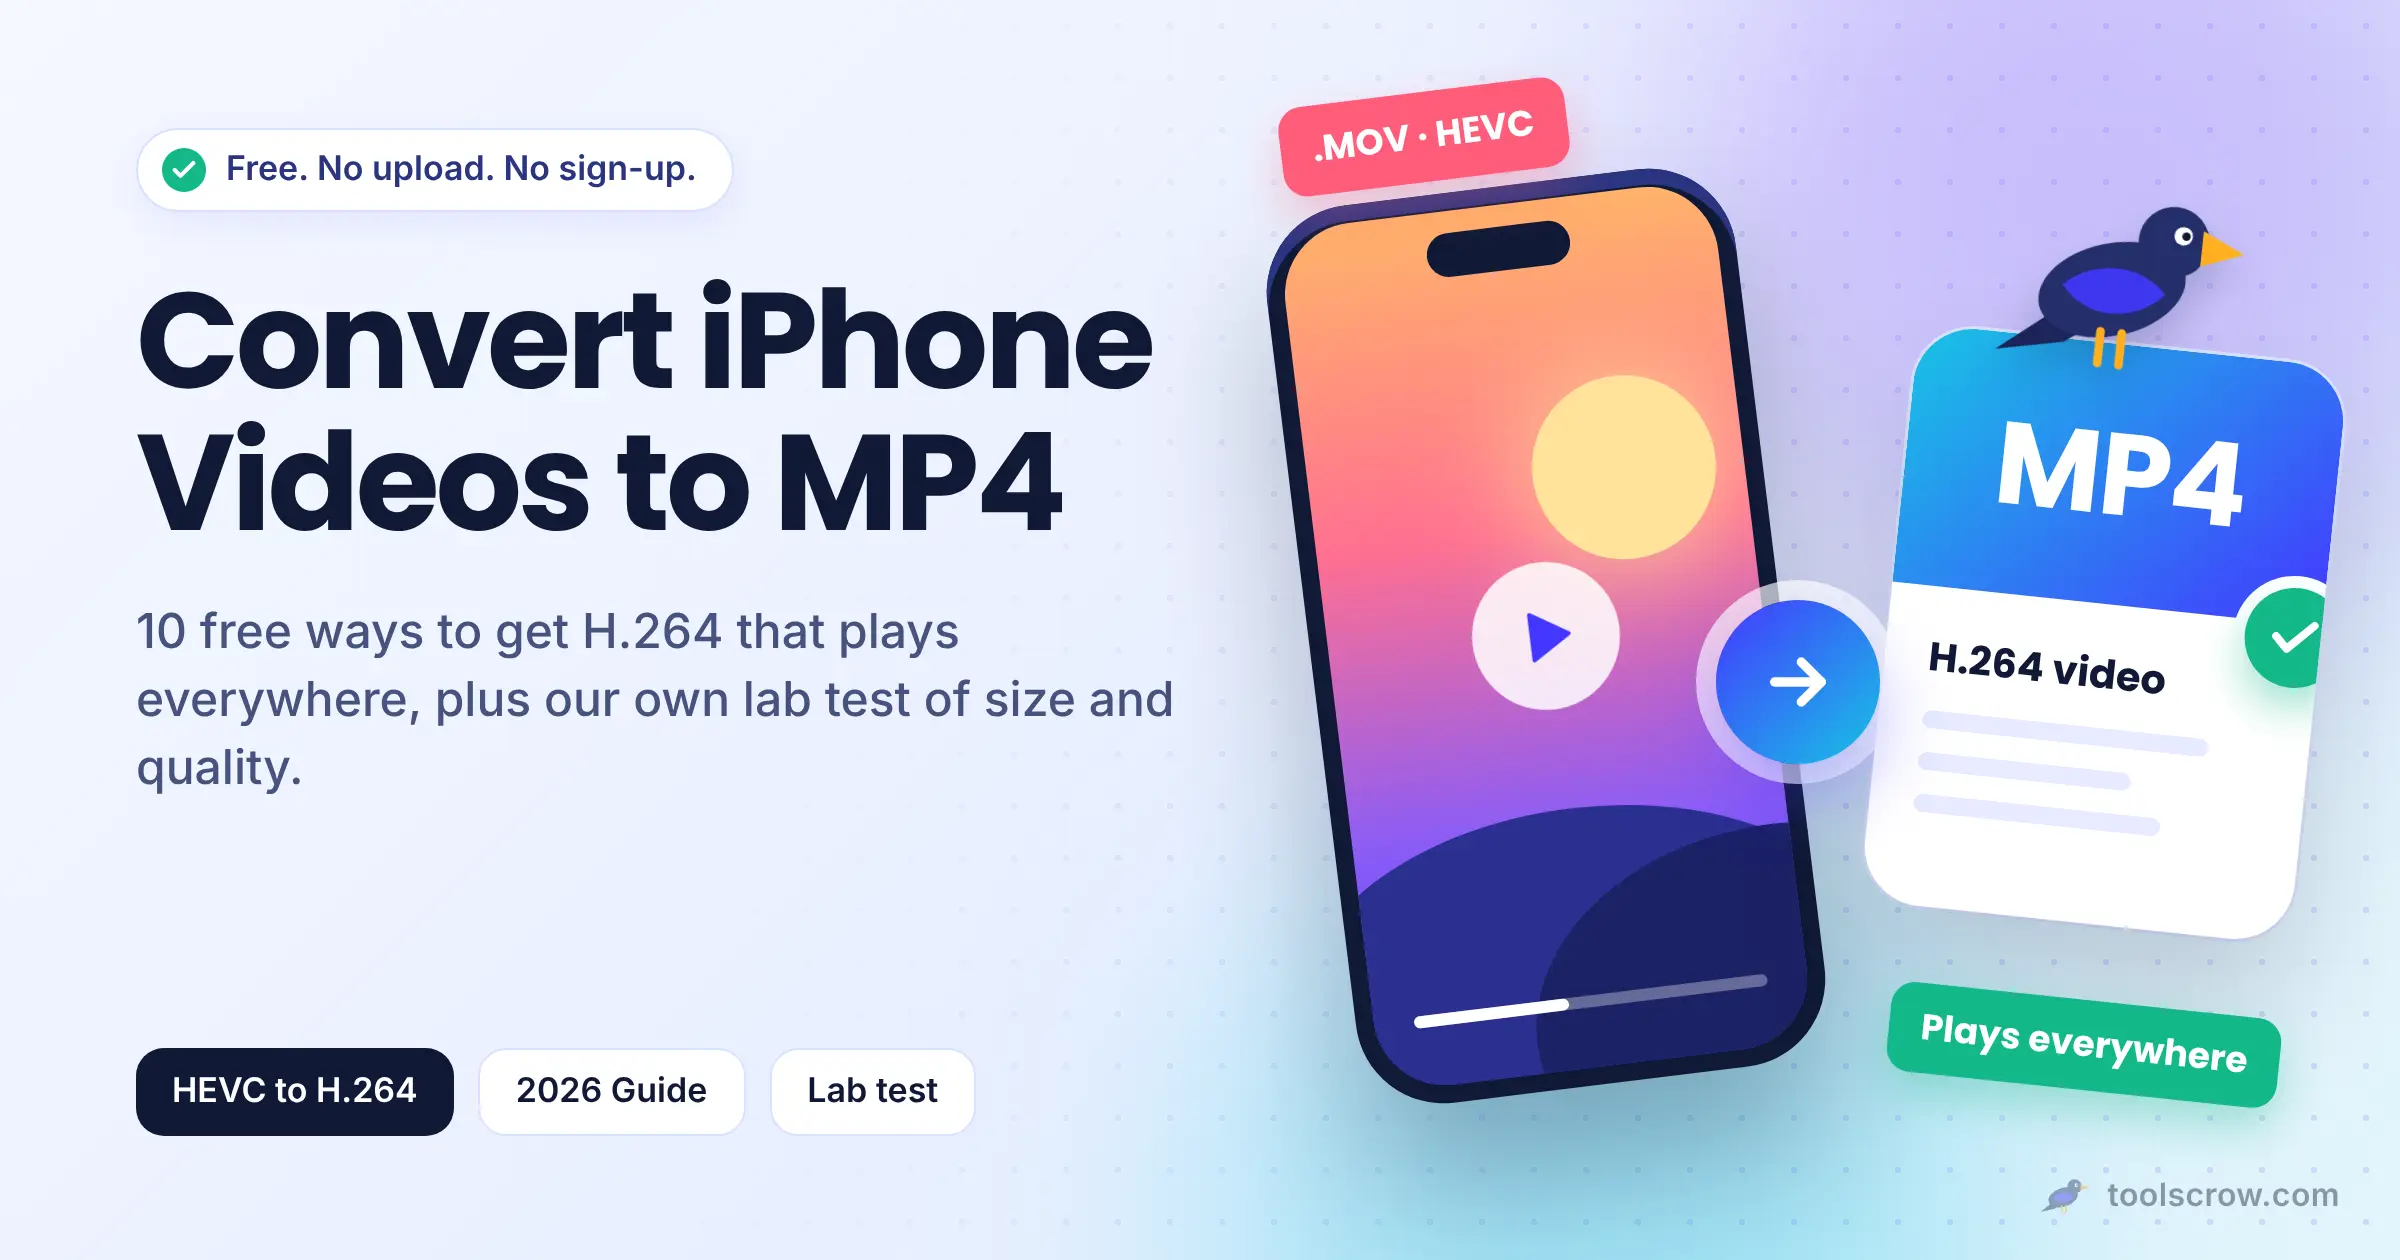
An iPhone video that plays perfectly on the phone can turn into a headache the moment it leaves it. It will not open on a Windows laptop. An editor refuses to import it. A website rejects the upload. A relative's older TV shows a black screen. In almost every case the reason is the same: your iPhone saved the clip as a MOV file using HEVC (H.265), a modern space-saving codec that a lot of software, websites and devices still cannot read.
The fix is to convert the video to H.264 in an MP4 file, the combination that plays on nearly everything. There are many free ways to do it, and the best one depends on what you have in your hands: only an iPhone, a Mac, a Windows PC, a Chromebook, or just a browser. This guide covers ten of them, gives you our own lab measurements of how much file size and quality change when you convert, and ends with a complete workflow for trimming, compressing and checking the result.
The Short Answer
- Fastest fix on any device: open the free ToolsCrow iPhone Video Converter in Safari on your iPhone, choose the video, keep the quality on High, press Convert, and download the MP4. Nothing is uploaded to any server, it works privately.
- Stop it happening again: go to Settings, Camera, Formats and choose Most Compatible. New videos will use H.264.
- Many files on a Mac: Control-click them in Finder and use Encode Selected Video Files.
- Only want to watch it on Windows: VLC plays HEVC without converting anything.
How We Evaluated These Methods
We want to be exact about what "evaluated" means here, because most roundups blur it. This guide combines three kinds of evidence.
- Documentation. The iPhone and Mac features are checked against Apple Support's own pages. HandBrake, VLC and FFmpeg are checked against their published guides. The browser converters are checked against their tool pages.
- Our own lab test. We converted HEVC test clips to H.264 with the x264 encoder (the encoder inside FFmpeg, HandBrake and VLC) at several settings, and measured file size and picture quality with three standard metrics. The full results are in the lab test section below.
- Reported limits, labeled as such. Where third-party sources disagree about free-tier limits, we say "reported" and tell you to confirm on the site.
What we did not do: hands-on test every app and website, or benchmark real phone footage across many iPhone models. That is why our advice for every method is the same simple rule: convert a ten-second test clip first, check it, and only then convert the rest.
Disclosure: we build ToolsCrow, so our own tools appear in this guide. We include the alternatives, with their real limits, because the best answer is not always a browser tool.
Quick Picks: The Best Way for Your Situation
| Your situation | Best free way |
|---|---|
| One or two videos, only an iPhone in hand | ToolsCrow iPhone Video Converter in Safari |
| On a Chromebook or a locked-down work or school PC | ToolsCrow converter in the browser (nothing to install) |
| You never want to deal with this again | Camera, Formats, Most Compatible |
| Copying lots of videos to a PC with a cable | Transfer to Mac or PC, Automatic |
| Converting many videos on the iPhone itself | A Shortcuts "Encode Media" shortcut |
| You have a Mac | Finder, Encode Selected Video Files |
| Windows or Mac, want a simple desktop tool | VLC, Convert / Save |
| You want control over quality and file size | HandBrake |
| Batches, scripts and automation | FFmpeg |
| Nothing local is available and the video is not private | An upload-based online converter |
First: Do You Actually Need to Convert?
Converting always costs a little quality and usually produces a bigger file, so check whether you can skip it.
- Sharing with another Apple device: no conversion needed. Apple devices play HEVC natively.
- Sharing by AirDrop, Messages or email: Apple's documentation says that when the receiving device does not support the newer formats, the media might automatically be shared in a more compatible format such as H.264. You cannot rely on it, but it sometimes saves you the trouble.
- Sharing through iCloud Photos: the media is preserved in its original format, resolution and frame rate, so a shared HEVC video stays HEVC.
- Uploading to a website or social platform: check what the destination accepts. Many services take iPhone videos as they are and re-encode them on their side, so converting first can mean compressing the footage twice.
- Only watching on your own Windows PC: a free player such as VLC plays HEVC without converting. Our guide to why iPhone videos will not play on Windows explains this and four other fixes.
If the video needs to be edited, uploaded somewhere strict, or opened on devices you do not control, converting is the dependable fix.

The Ten Free Ways to Convert iPhone Videos
Way 1: ToolsCrow iPhone Video Converter (Best for a Quick Fix Anywhere)
Runs on: any current browser, including Safari on an iPhone. Cost: free, no sign-up, no watermark.
The iPhone Video Converter re-encodes iPhone MOV and HEVC recordings into a standard H.264 MP4. You choose the video, leave the quality on High, press Convert and download an MP4. According to the tool page, there are no daily limits and no watermark, and your video is never uploaded, because everything runs on your own device.
The smartest way to use it is on the iPhone itself. A browser can only convert what it can read. Safari reads HEVC natively, while Chrome and Edge need supported hardware and Firefox generally cannot. So convert in Safari on the phone, then send the finished MP4 wherever it needs to go. Because it needs nothing installed, the same page works on a Chromebook or on a computer where you are not allowed to add software.
Limits: the page describes a single quality setting, High, and no manual bitrate or resolution controls. Files over about 4 GB are not supported, and very large clips depend on your device's memory. The result is usually bigger than the original. It converts the codec and does not edit the clip.
Best for: one-off conversions, private videos and anyone without a computer handy.
Way 2: Set the iPhone to Record in a Compatible Format
Runs on: your iPhone. Cost: free.
The easiest conversion is the one you never have to do. Go to Settings, Camera, Formats and choose Most Compatible. Apple's support page confirms the setting and notes that it is available only on iPhones and iPads that can capture HEIF or HEVC. From then on, new recordings use H.264 instead of HEVC.
There are trade-offs. Files take roughly twice the storage (see the size table below). Some high-end modes, such as certain 4K high-frame-rate and HDR options, reportedly require High Efficiency, so check your model. The setting also affects only new recordings, so existing videos still need converting. And the container stays MOV, not MP4. That solves the codec problem, which is the one that usually blocks playback, but a few strict sites still want a true MP4.
Best for: people who regularly share iPhone video with Windows, Android or editing software users.
Way 3: Let the iPhone Convert When You Transfer
Runs on: your iPhone, over a USB cable. Cost: free.
Open Settings, Photos (on newer iOS versions, Apps, then Photos), scroll to Transfer to Mac or PC and choose Automatic. Apple's documentation says that when you import HEVC media from an attached iPhone into Photos, Image Capture or a PC, it may be converted to H.264. Keep Originals does the opposite and sends the files exactly as recorded, which is the usual reason people end up with files Windows cannot play.
Two caveats. It only applies to cable transfers, not to AirDrop, cloud links or other methods. And converting many large videos on the fly can be slow, with some people reporting trouble on big batches. If that happens, copy with Keep Originals and convert the ones you need afterward.
Best for: routine backups to a Windows PC.
Way 4: A Shortcuts "Encode Media" Shortcut (Best for Batches on the iPhone)
Runs on: your iPhone. Cost: free, built in.
The Shortcuts app includes an Encode Media action that can re-encode videos on the phone. A typical shortcut chains three actions: Select Photos (with multiple selection turned on), Encode Media (where you choose the video size and format, such as H.264), and Save to Photo Album. Run it, pick your videos, and the converted copies appear in your library.
The benefit is that it works offline, on many videos at once, with no website involved. The limits are that option names change between iOS versions, the settings are less obvious than a one-button tool, and the output container can vary, so check the result. A quick look with the Video Info tool shows what you actually got.
Best for: people comfortable with Shortcuts who convert many clips regularly.
Way 5: Finder on a Mac, Encode Selected Video Files
Runs on: macOS. Cost: free, built in.
Apple documents this route directly. In a Finder window, Control-click the HEVC video, choose Services, then Encode Selected Video Files, and in the Encode Media window choose an H.264 option from the Settings menu. It is fast, native, needs no extra software and works on several selected files at once.
The limits are that you have little control beyond the preset options, and it only helps if you own a Mac.
Best for: Mac owners who want a no-install, no-upload conversion.
Way 6: VLC Media Player, Convert / Save
Runs on: Windows, Mac and Linux. Cost: free and open source.
VLC is mostly known as a player, but it can convert too. Open Media, then Convert / Save, add your video, click Convert / Save, and pick a profile such as Video - H.264 + MP3 (MP4). Choose a destination and start. The wrench icon opens more settings.
On Windows, VLC has an extra benefit: it plays HEVC without Microsoft's codec add-on, so you may not need to convert at all if you only want to watch. As a converter it is functional rather than polished, and its default profiles are not tuned for the best quality-to-size balance.
Best for: people who already have VLC and want a simple, local conversion.
Way 7: HandBrake (Best Free Desktop Converter for Quality Control)
Runs on: Windows, Mac and Linux. Cost: free and open source.
HandBrake is the best-known free converter for people who want control. A typical setup, as described in several guides: open your file, set the format to MP4, set the video codec to H.264 (x264), and choose a Constant Quality value of about RF 20 to 23, where lower numbers mean higher quality and bigger files. Then start the encode. It also offers presets such as Fast 1080p30 for quick jobs.
The trade-off is the learning curve. The defaults are fine, but HandBrake has a lot of options. It is the right choice when you care about the balance between quality and file size, or need to convert a whole folder.
Best for: anyone who wants predictable quality and does not mind a more detailed interface.
Way 8: FFmpeg (Best for Automation)
Runs on: Windows, Mac and Linux, from the command line. Cost: free and open source.
FFmpeg is the engine behind many converters, and using it directly gives the most control. This command makes a visually lossless H.264 MP4 and leaves the audio untouched:
ffmpeg -i IMG_1234.MOV -c:v libx264 -preset slow -crf 18 -pix_fmt yuv420p -c:a copy output.mp4
The FFmpeg documentation describes a CRF value of about 18 as visually lossless or nearly so, and notes that a change of about 6 roughly halves or doubles the bitrate. It is excellent for batches and scripts, and by definition it is a command-line tool, so it is not for everyone.
Best for: developers, editors and anyone converting hundreds of files the same way.
Way 9: Other ToolsCrow Converters for Specific Jobs
Runs on: any current browser. Cost: free.
- HEVC to H.264 converts any HEVC video, not only iPhone footage, to standard H.264 for older phones, TVs, Windows PCs and editors that reject H.265.
- MOV to MP4 converts MOV files to MP4 in your browser.
- Video Converter converts a video to MP4, WebM or MOV without uploading it anywhere.
All of them follow the same pattern as the iPhone converter: they run in your browser, nothing is uploaded, and your own device's memory and processing power are the only limits.
Way 10: Upload-Based Online Converters (Use With Care)
Runs on: the company's servers. Cost: free tiers with limits.
Sites such as CloudConvert let you upload a video, pick MP4 (H.264) and download the result. They are handy when you have no software and only a browser. Limits vary, and reports differ by source. One roundup, for example, reports CloudConvert's free tier as roughly 1 GB per file and 25 conversions a day, while others cap free files near 100 MB, and some free outputs carry a watermark. Confirm on the site before relying on any of it.
The bigger issue is privacy and data use. These services work by sending your video to their computers, which is fine for a holiday clip but a poor choice for footage of your family, your home or your documents. Uploading a large video also uses your data plan and takes time on a slow connection.
Best for: non-private clips when nothing local is available.
Side-by-Side Comparison
| Method | Runs on | Cost | Uploads your video? | Quality control | Best for |
|---|---|---|---|---|---|
| ToolsCrow iPhone Video Converter | Any browser | Free | No | One High setting | Quick fix anywhere |
| Most Compatible setting | iPhone | Free | No | Fixed (H.264) | Future recordings |
| Transfer: Automatic | iPhone with cable | Free | No | Automatic | Backups to a PC |
| Shortcuts Encode Media | iPhone | Free | No | Size and format | Batches on the phone |
| Finder Encode Selected Video Files | Mac | Free | No | Preset options | Mac owners |
| VLC Convert / Save | Windows, Mac, Linux | Free | No | Moderate | Simple local job |
| HandBrake | Windows, Mac, Linux | Free | No | High | Quality and size control |
| FFmpeg | Windows, Mac, Linux | Free | No | Full | Batches and scripts |
| Upload-based converters | Any browser | Free tiers | Yes | Varies | Non-private clips |
Our Lab Test: What Happens to File Size and Quality When You Convert
Everyone says that converting HEVC to H.264 "makes the file bigger" and "loses some quality," but few articles show numbers. So we measured it.
How We Tested
- Clips: two generated 1080p, 30 frames-per-second clips of 5 seconds each. One has light grain, standing in for bright daylight footage, and one has heavy grain, standing in for noisy low-light footage. They are synthetic, not real phone footage.
- Source: each clip was first encoded to HEVC in a MOV file, the way an iPhone saves video. The files came out at about 6.7 Mbps (light grain) and 8.2 Mbps (heavy grain), close to Apple's estimate of about 60 MB per minute, or roughly 8 Mbps, for 1080p at 30 fps.
- Conversions: each HEVC file was converted to H.264 MP4 with x264 (the "medium" preset) four ways: at the same bitrate as the HEVC file, and at CRF 23, 20 and 18.
- Measurement: we compared each result with the decoded HEVC file using VMAF, SSIM and PSNR. VMAF is a perceptual score where higher is closer to the reference, and scores in the mid-90s and above are generally treated as very close, though it is a model and not a pair of eyes. SSIM and PSNR are classic similarity measures. VMAF was sampled on every second frame, while SSIM and PSNR used every frame.
Results: Light-Grain Clip (HEVC source: 4.18 MB)
| H.264 setting | Size vs HEVC file | VMAF (average / lowest) | SSIM | PSNR |
|---|---|---|---|---|
| Same bitrate as HEVC | 0.99x | 96.2 / 95.1 | 0.995 | 45.5 dB |
| CRF 23 | 0.88x | 95.6 / 94.0 | 0.994 | 44.6 dB |
| CRF 20 | 1.24x | 96.9 / 95.0 | 0.996 | 47.1 dB |
| CRF 18 | 1.54x | 97.5 / 95.7 | 0.997 | 48.7 dB |
Results: Heavy-Grain Clip (HEVC source: 5.12 MB)
| H.264 setting | Size vs HEVC file | VMAF (average / lowest) | SSIM | PSNR |
|---|---|---|---|---|
| Same bitrate as HEVC | 0.99x | 95.3 / 92.9 | 0.985 | 43.8 dB |
| CRF 23 | 0.80x | 95.1 / 94.1 | 0.985 | 43.3 dB |
| CRF 20 | 1.26x | 96.5 / 95.4 | 0.987 | 45.1 dB |
| CRF 18 | 1.68x | 97.2 / 96.1 | 0.988 | 46.2 dB |

What We Learned
- You do not always need a much bigger file to look close. At about the same bitrate as the HEVC original, H.264 scored in the mid-90s on VMAF on both clips. On footage like this, a converted file of similar size can look very close to the original.
- Pushing toward "identical" costs space. Moving from CRF 23 to CRF 18 raised quality steadily and made the file about 1.5 to 1.7 times the size of the HEVC original. That is the real trade-off: each step toward a perfect copy costs storage.
- The worst moments matter. The lowest VMAF frames were noticeably worse than the average in the same-bitrate runs, down to 92.9 on the noisy clip. Lower CRF numbers raised that floor. When you spot-check a conversion, look at the hardest scenes, not the easy ones.
- "Twice as big" is a rule of thumb, not a law. Our results ranged from about 0.8 to 1.7 times the HEVC size depending on the setting. The 2x figure is better understood as a ceiling for high-quality settings than as an automatic result.
- Sloppy settings cost more than the codec change. Choosing a very low-quality setting, or converting a video that was already compressed by a chat app, will hurt a picture far more than the switch from HEVC to H.264 itself.
What This Test Does Not Tell You
These are honest limits, so please read them. The clips are synthetic and short, so real footage with complex motion, fast pans and changing light may need more bitrate to look as good. We measured x264, the software encoder used by FFmpeg, HandBrake and VLC. Browser converters, including ToolsCrow's, use your device's own hardware video encoder, which behaves differently, so these numbers guide the desktop tools and are not a measurement of the browser tool. The measurement is against the decoded HEVC file, not against the original camera sensor data. And VMAF is a prediction of how people see video, not a replacement for looking at the result yourself.
How Big Will the Converted Video Be?
Apple's in-app storage estimates for the default High Efficiency setting give a useful baseline. The H.264 column below uses figures commonly reported for the Most Compatible setting. They vary by model and iOS version, so treat all of them as approximate.
| iPhone recording mode | HEVC, per minute (Apple's estimate) | H.264, per minute (commonly reported) |
|---|---|---|
| 720p HD at 30 fps | About 40 MB | Varies |
| 1080p HD at 30 fps (default) | About 60 MB | About 130 MB |
| 1080p HD at 60 fps | About 90 MB | About 200 MB |
| 4K at 30 fps | About 170 MB | About 350 to 375 MB |
| 4K at 60 fps | About 400 MB | About 600 MB |
Two takeaways. First, when the iPhone itself records in Most Compatible mode, files are roughly twice the size of the HEVC versions, which is the storage cost of switching the setting. Second, a conversion that you control does not have to be that wasteful. In our lab test, sensible settings landed between about 0.8 and 1.7 times the HEVC size, so converting an existing clip with a well-chosen quality can be smaller than a clip the phone recorded as H.264 in the first place.
A simple planning rule: a five-minute 1080p30 clip is about 300 MB as HEVC from the iPhone. Expect the converted H.264 file to be somewhere between about the same and about 600 MB, depending on the quality you choose. If you need it smaller, trim it first and compress it once, from the original.
Quality Settings Cheat Sheet
| Your goal | ToolsCrow converter | HandBrake | FFmpeg |
|---|---|---|---|
| Closest match, keep as a master copy | High | Constant Quality, about RF 18 to 20 | CRF 18, preset slow |
| Everyday sharing, good balance | High | RF 20 to 23, preset Fast 1080p30 | CRF 20 to 23 |
| Smaller file for chat or email | Convert, then compress once | RF 23 or higher, lower the resolution | CRF 23 to 26 |
In our test, CRF 23 produced a file smaller than the HEVC original with a still-high VMAF of about 95, CRF 20 produced about 1.25 times the size, and CRF 18 produced about 1.5 to 1.7 times. Lower numbers mean higher quality and a bigger file. Remember that the browser tool picks its own bitrate, so these numbers apply to the desktop tools.
Notes for Readers in Canada, the US and Everywhere Else
Video formats do not change at the border, but a few practical details do, so here is what is worth knowing wherever you live.
- Windows prices and availability. Microsoft sells an HEVC add-on in the Microsoft Store that typically costs around US$0.99, and other countries see local-currency prices. A free "from Device Manufacturer" version exists, but availability depends on your PC, region and store, and reports are mixed. Licensing costs are one reason many software makers do not bundle HEVC decoding for free. If you do not want to pay, VLC or a converter are free alternatives.
- Windows N editions. If you run a Windows N edition, sold in some regions such as Europe and Korea, you may also be missing basic media features, and video playback problems can have a second cause.
- Email and chat limits. Many email services cap attachments at roughly 20 to 25 MB, and Gmail's limit is 25 MB. A one-minute 1080p clip is already larger than that, so plan to compress for email, or share a link instead.
- Data plans. If your mobile plan has a data cap, which is common in many countries and in rural areas of Canada and the US, uploading a large video to an online converter can use up a noticeable chunk of it. Browser tools that run on your device only need the page to load once, so they use far less data.
- Privacy rules. If you handle other people's footage, for a business, a school or a client, keeping videos on your own device avoids sending personal data to third-party servers. Privacy laws such as Canada's PIPEDA, California's CCPA and CPRA, and Europe's GDPR all care about where personal data goes. This is general information and not legal advice.
- Android, smart TVs and older devices. HEVC support varies widely across Android phones and TV brands and models, and older ones often cannot play it. H.264 in MP4 is the safest choice for sharing with anyone whose device you do not know.
The Complete Workflow: Convert, Trim, Crop, Compress and Check
Converting is usually only one step. Most people also need to cut a clip, fit it to a platform, shrink it for sharing and confirm it worked. Here is a full workflow using free ToolsCrow video tools, all of which run in your browser.
| Goal | Tool |
|---|---|
| Make the video play everywhere | iPhone Video Converter |
| Cut off the start and end | Video Trimmer |
| Fit a vertical or square format | Video Cropper |
| Hit an email or upload size limit | Video Compressor |
| Send it in a chat | WhatsApp Video Compressor |
| Add captions | Add Subtitles to Video |
| Confirm what you ended up with | Video Info and Video Codec Checker |

A sensible order is to trim first, so you are not compressing footage you will throw away, then convert, then crop or add captions if needed, then compress last and only if you must. Keeping the number of re-encoding steps low is the single best way to protect quality, and our lab test shows why: the choice of setting matters more than the codec switch itself.
How to Check That the Conversion Worked
- Check the codec. Drop the new file into the Video Codec Checker. It reads the codec, decodes the H.264 profile and level, and tells you whether your own browser can decode the file, all on your device.
- Check the details. Compare the original and the new file with Check Video Resolution, the Video Frame Rate Checker and the Video Duration Checker. They should match unless you changed something on purpose.
- Watch the hard scenes. Play the result at full size and look at fast motion, dark scenes, smooth gradients like skies, and fine detail such as text and foliage.
- Play it on the device that gave you trouble. That is the real test.
- Keep the original until you are satisfied. The HEVC file is your master copy.
This is also the best way to catch a surprise when you download from iCloud.com. Users report that downloads can come back as either the original MOV or a lower-resolution compatible MP4 depending on the option chosen, so check the resolution afterward if quality matters.
Where Is the Video Going? Advice by Destination
- Email: trim, convert, then compress to fit your provider's attachment limit, or share a link instead.
- WhatsApp and other chats: apps usually compress videos themselves. Use the WhatsApp Video Compressor if you want control over the result before sending.
- YouTube, Instagram, TikTok: try the original first. Platforms generally accept iPhone video and re-encode it, and converting first can compress twice. Convert only if an upload is rejected.
- A Windows video editor: if the editor will not import the clip or playback stutters, convert to H.264 MP4 before editing.
- An older TV or a USB stick: H.264 MP4 at 1080p is the safest format.
- A friend on Android: send the converted MP4, because HEVC playback varies between Android devices.
- Long-term storage: keep the original HEVC file and make H.264 copies only when needed. It saves space and protects quality.
Mistakes That Waste Time or Quality
Converting a copy that has already been compressed
Videos that came through a messaging app or social site are already compressed. Convert from the original recording whenever you still have it.
Converting more than once
Convert, compress, then convert again, and the loss adds up. Plan the whole job and do it in as few steps as possible.
Converting everything "just in case"
Converting your whole library eats storage and gains nothing if your devices already play HEVC. Convert only what has to go somewhere that cannot read it.
Judging quality on a tiny preview
A small thumbnail hides compression damage. Check at full size on the screen the video will be watched on.
Deleting the original too early
If a problem shows up later, the original is the only way back. Keep it.
Using a private video on an upload-based site
If the footage is personal, use a method that stays on your device.
Troubleshooting
My browser says it cannot read the video
It cannot decode HEVC on your device. Open the converter in Safari on an iPhone, iPad or Mac, or use VLC, HandBrake or FFmpeg, which include their own decoders.
The converted video looks washed out
Recent iPhones can record HDR video, which can look flat on a screen that is not HDR, and converting the codec does not automatically fix that. Turn off HDR Video under Settings, Camera, Record Video for future clips, and test one short HDR clip before converting a batch.
The converted file is huge
Trim first, then compress once with the Video Compressor. If you used a very low CRF number, raise it.
The tool or shortcut produced a MOV and I need an MP4
Run it through the MOV to MP4 tool, and check the result with Video Info.
The conversion is very slow
Large files take time, especially on a phone or in an older browser. Plug the phone in, close other apps, use a current browser and try a shorter clip first.
Frequently Asked Questions
What is the easiest free way to convert an iPhone video to MP4?
Open the ToolsCrow iPhone Video Converter in Safari on your iPhone, choose the video, keep the quality on High and press Convert. There is no app to install and the video is not uploaded.
How do I convert an iPhone video to MP4 on Windows for free?
Use a browser converter, or use VLC (Media, Convert / Save) or HandBrake, both free. If you only want to watch the video, VLC plays HEVC without converting.
How do I convert an iPhone video to MP4 on a Mac for free?
Control-click the video in Finder, choose Services, then Encode Selected Video Files, and pick an H.264 option. You can also use HandBrake or a browser converter.
How do I convert an iPhone video on a Chromebook?
Use a browser-based converter such as the ToolsCrow iPhone Video Converter, since nothing needs to be installed. Very large files depend on the Chromebook's memory.
How do I stop my iPhone from recording in HEVC?
Go to Settings, Camera, Formats and choose Most Compatible. New recordings will be H.264. Existing videos are not changed.
Does the Most Compatible setting make my videos MP4?
No. It changes the codec to H.264, but the file is still a MOV. Convert it if you specifically need an MP4.
Does converting an iPhone video lose quality?
Technically yes, because it is a second round of compression. In our lab test, a quality-matched H.264 conversion scored in the mid-90s on VMAF, which is very close to the original, and higher-quality settings scored above 97. How it looks to you depends on the setting you choose and on the footage.
Why is my converted video bigger?
H.264 is less efficient than HEVC, so matching the picture can take more data. In our test the size ranged from about 0.8 to 1.7 times the HEVC file depending on the setting, and the iPhone's own Most Compatible mode is roughly twice the HEVC size.
Can I convert many iPhone videos at once for free?
Yes. A Shortcuts shortcut on the iPhone, Finder's Encode Selected Video Files on a Mac, HandBrake and FFmpeg can all handle many files. The ToolsCrow converters are built around choosing a video and converting it, which suits a few clips at a time.
Is it safe to use an online video converter?
It depends on how it works. A converter that runs in your browser and never uploads your file, like the ToolsCrow tools, keeps your video on your device. Upload-based services send your file to their servers, so avoid them for private footage.
Do I need to convert before uploading to YouTube or Instagram?
Usually not. Many platforms accept iPhone videos as they are and re-encode them, and converting first can mean compressing twice. Convert only if the upload is rejected.
Will the converted video play on Android and smart TVs?
H.264 in an MP4 file plays on effectively every modern phone, TV and website, which is why it is the standard choice for compatibility. HEVC support varies by device.
Which method gives the best quality?
HandBrake and FFmpeg give you direct control over the quality setting, and our lab test shows lower CRF numbers reliably raise quality. For a one-button result, the High preset in the ToolsCrow converter is designed to keep the picture visually the same. Whichever you use, test a short clip and compare.
Can I convert an iPhone video without losing any quality?
Not strictly. Both formats are lossy, so a conversion is never mathematically identical. You can make the difference invisible in normal viewing by converting once from the original, using a high-quality setting and keeping the original file.
The Bottom Line
You do not need to pay to convert iPhone videos, and you do not always need to convert at all. For a fast fix on any device, use the free browser converter. To stop the problem permanently, switch the camera to Most Compatible, and accept the larger files. For many files at once, use Shortcuts on the iPhone, Finder on a Mac, or HandBrake and FFmpeg on a computer. Keep upload-based sites for clips you would not mind sharing.
And whatever you pick, remember what our lab test showed: the setting you choose matters more than the switch from HEVC to H.264 itself. Convert from the original, convert once, check the hard scenes, and keep the original file.
Ready to try it? Open the free ToolsCrow iPhone Video Converter, convert a ten-second test clip, and confirm the result with the Video Codec Checker. Then browse the rest of the convert video tools and all ToolsCrow video tools to trim, crop, compress and caption the finished file.
Try iPhone Video Converter
Convert video for iPhone online free. Optimize videos for iPhone and iPad.
Open Tool
You Might Also Like
All posts →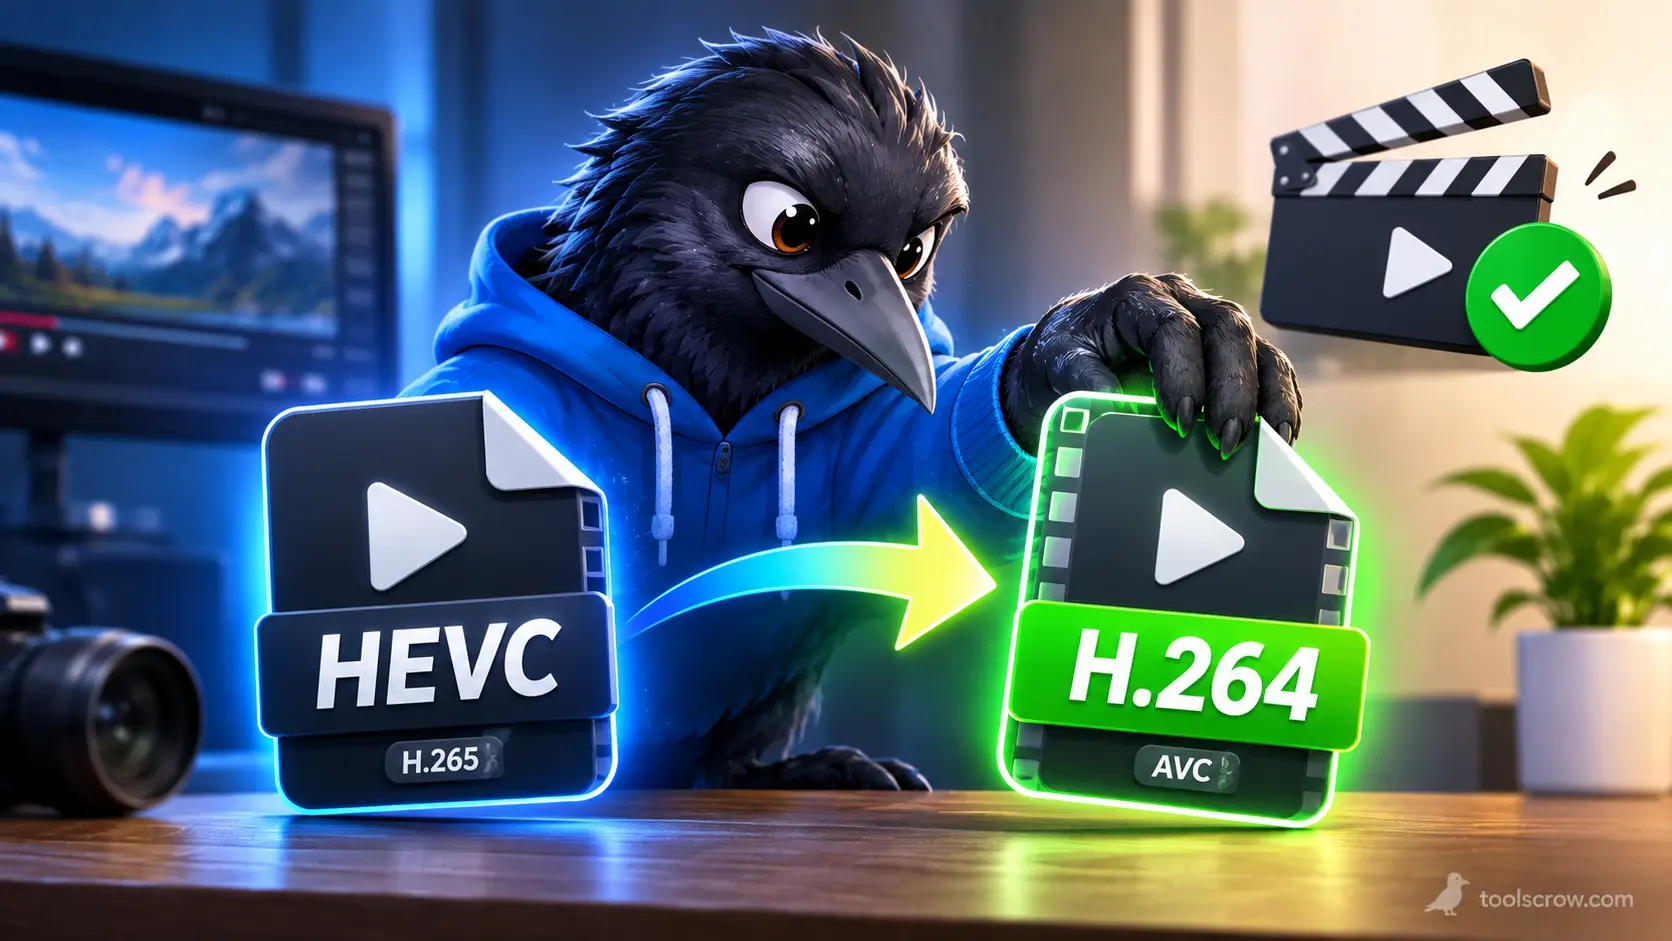
Comments (0)
No comments yet. Be the first to share your thoughts!
Leave a Comment
All comments are reviewed before publishing. Please keep it respectful and on-topic. Comments with links or promotional content will be rejected automatically.